
Halloween craft
The Halloween lantern
A night to color, shapes to stick wherever you like, and the lantern lights up when the lights go out.
The two sheets to print
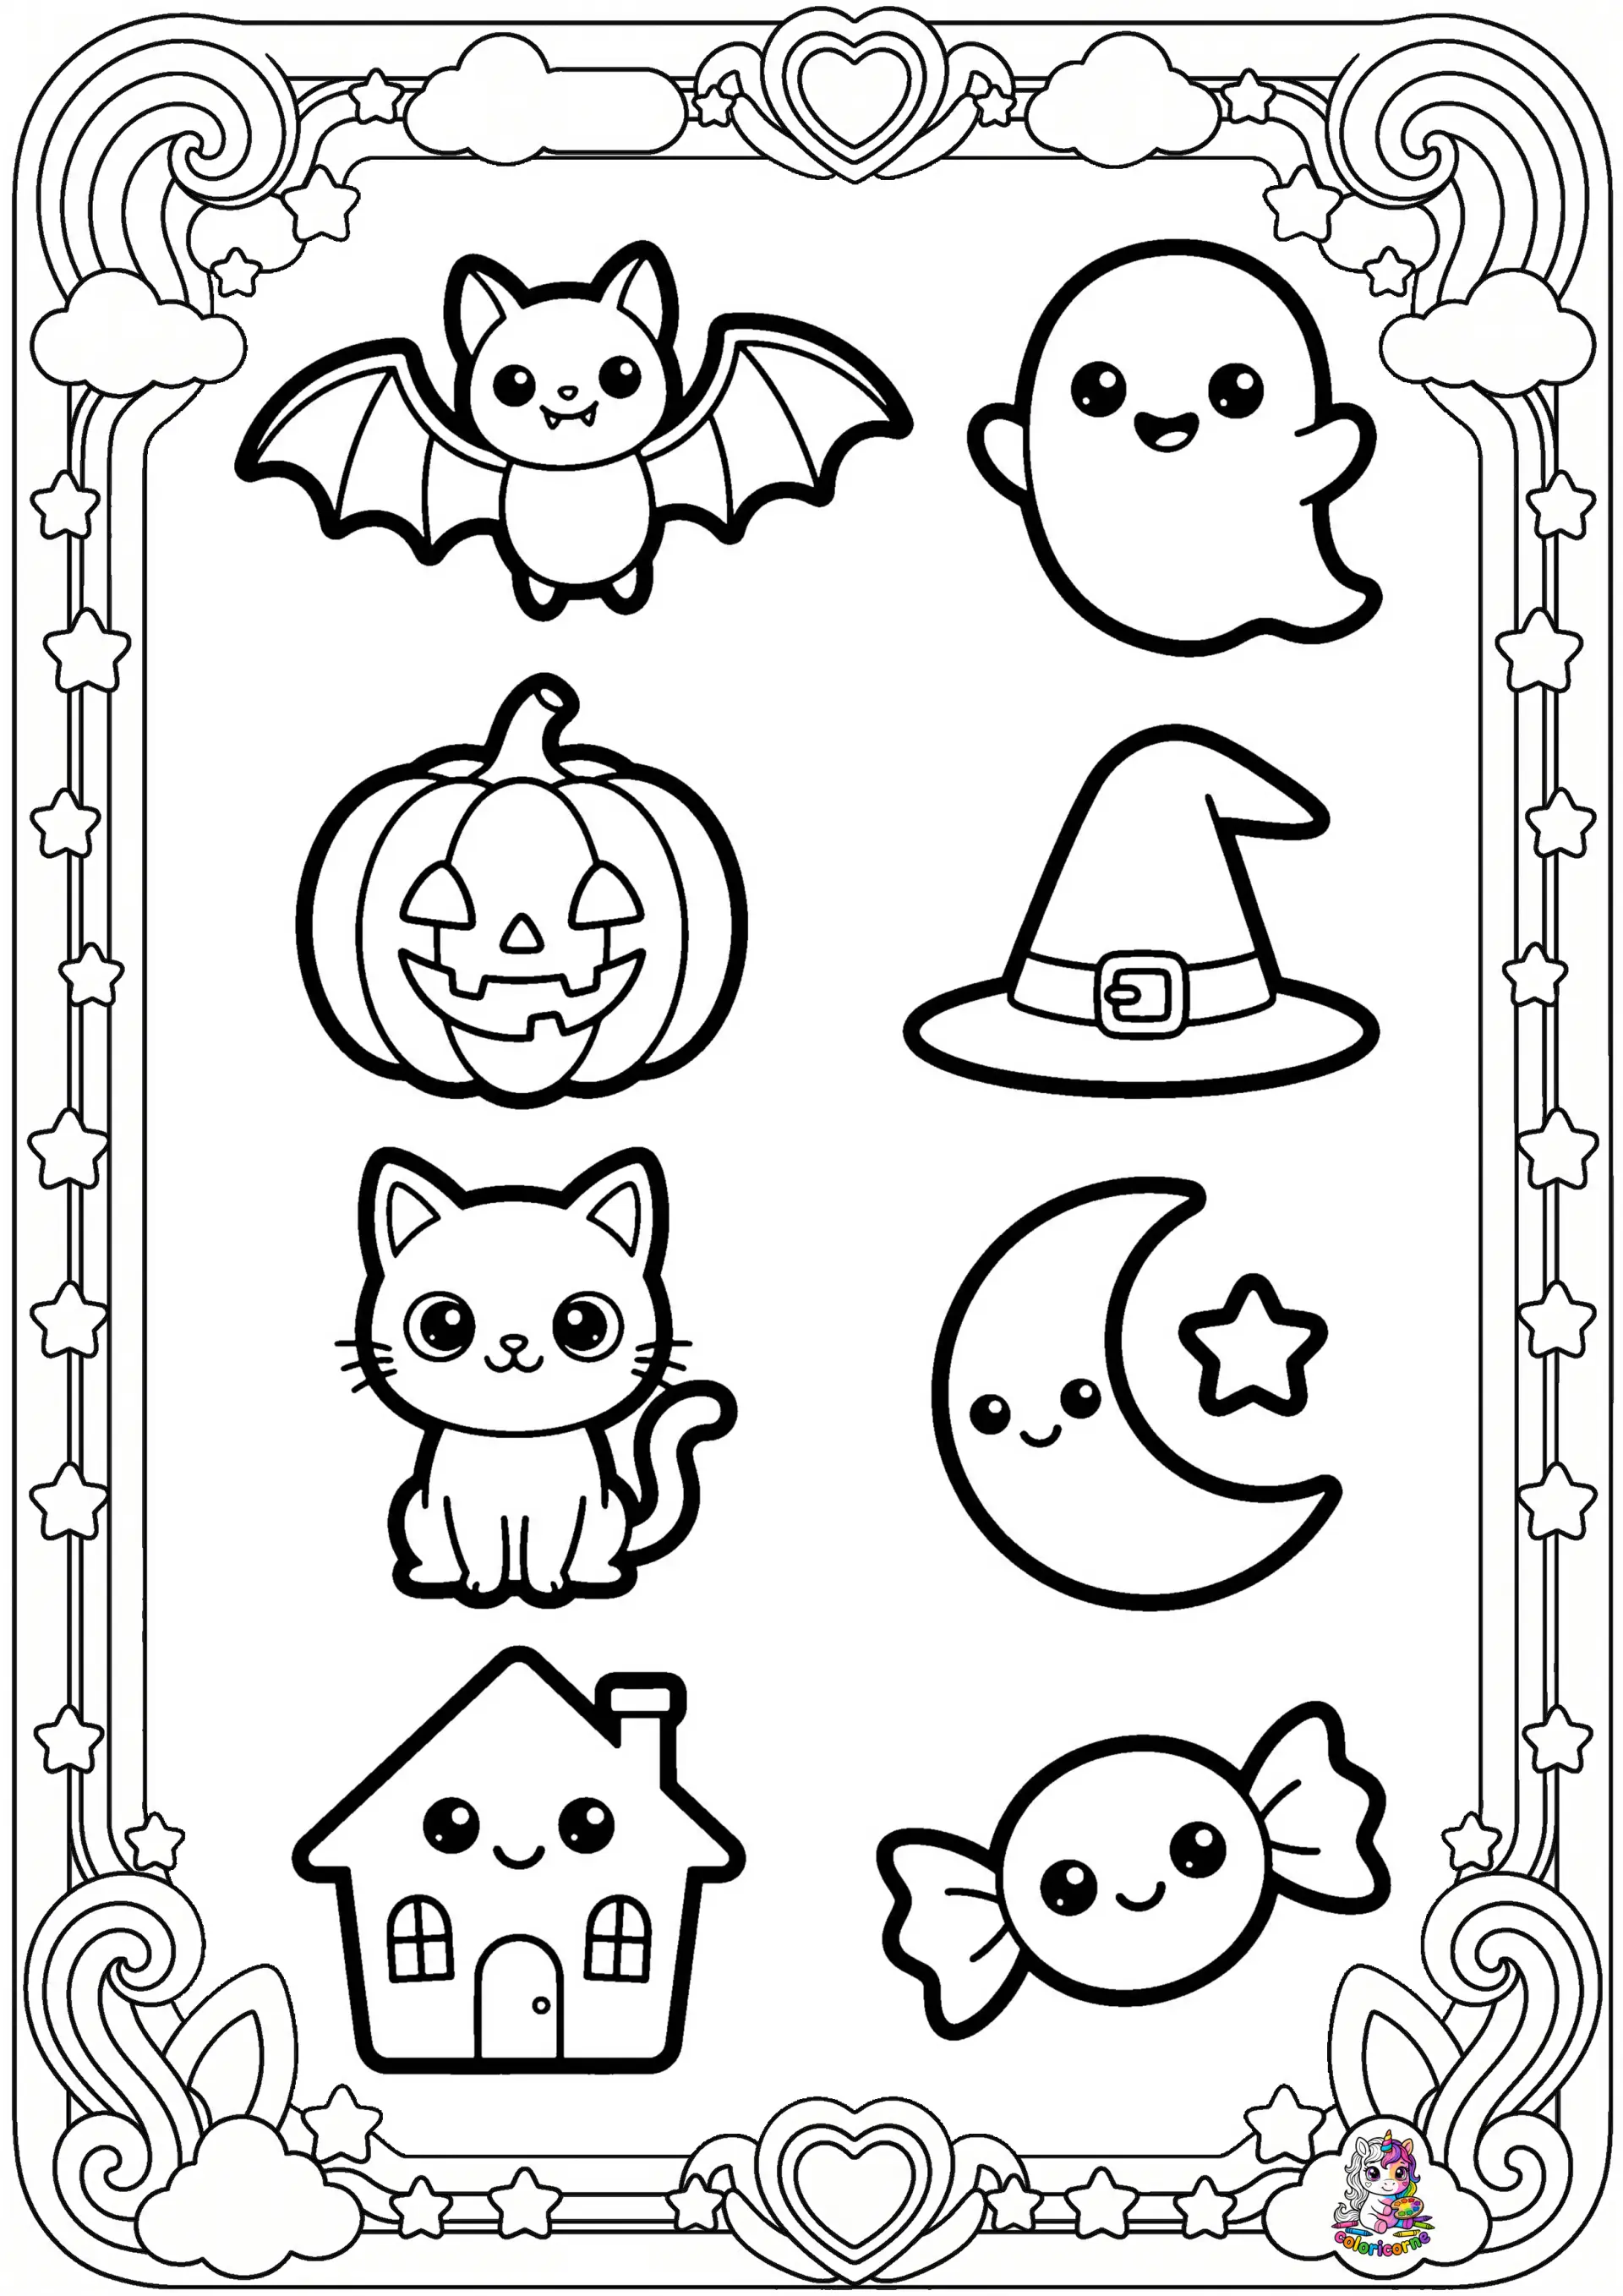
The Halloween night goes all the way around the lantern; the eight shapes, with their bold outline, cut out in a single run of the scissors.

Step by step
Ages 3+45 minutes, often over two sessions
Supplies
- The two sheets, on ordinary paper: light shines through it better than through thick paper
- Markers, brighter than colored pencils once the lantern is lit
- Round-tipped scissors
- A glue stick and tape
- An LED tea light — never a real flame
Steps
- Color the Halloween night with markers, pressing firmly: those are the colors that will glow. The sky can stay light or turn midnight blue.
- Color the shapes, then cut them out along the bold outline. Before age 4, the grown-up does the cutting.
- Glue the shapes anywhere on the night: a bat by the moon, a hat on the ghost. That is where the story gets made up.
- Roll the sheet into a cylinder, drawing facing out, one edge over the other, and tape them together.
- Set the lantern over the lit LED tea light, then turn off the lights.
On Halloween night, the lantern lights up the doorstep or the party table. A shape glued on the inside, against the paper, appears as a shadow when the lantern is lit.