
Kids crafts
What you do with a sheet once it’s colored. Crafts with scissors, glue and nothing you have to buy.
Before you start
Things to know, true for every craft.
The shared supplies
Round-tipped scissors, a glue stick, wide tape, thin string, a few craft sticks and a hole punch. Each craft lists what else it needs.
The paper
Plain paper is fine for coloring. As soon as you have to cut, move up to 120 gsm: a thin sheet folds instead of standing up, and a mobile made of light paper curls into itself at the first draft of air.
Color first, cut second
Always in that order. On a piece that is already cut out, the marker runs onto the table and the edges curl. A whole sheet lies flat under the hand; a small shape does not.
Who does what
Before 4, the child colors and glues; the adult cuts. Gluing is the part that interests them, not cutting. The laminator and the iron stay in adult hands, at any age.
The crafts
The stick puppet
Ages 3+20 minutes
Supplies
- A colored sheet, on 120 gsm paper if you have it
- Round-tipped scissors
- A craft stick, or a thick straw
- Tape
Steps
- Color the whole sheet: that is what will be left once the shape is cut out.
- Cut the character out along its outline, without aiming for precision — a wide loop around it works just fine.
- Tape the stick to the back, at the bottom, along its whole length. Stuck down over two centimeters only, it swivels at the first move.
- Fly the puppet over the table, give it a voice, hide it behind the back of a chair.
Two puppets beat one: with two characters, the child invents a dialogue instead of making noises.
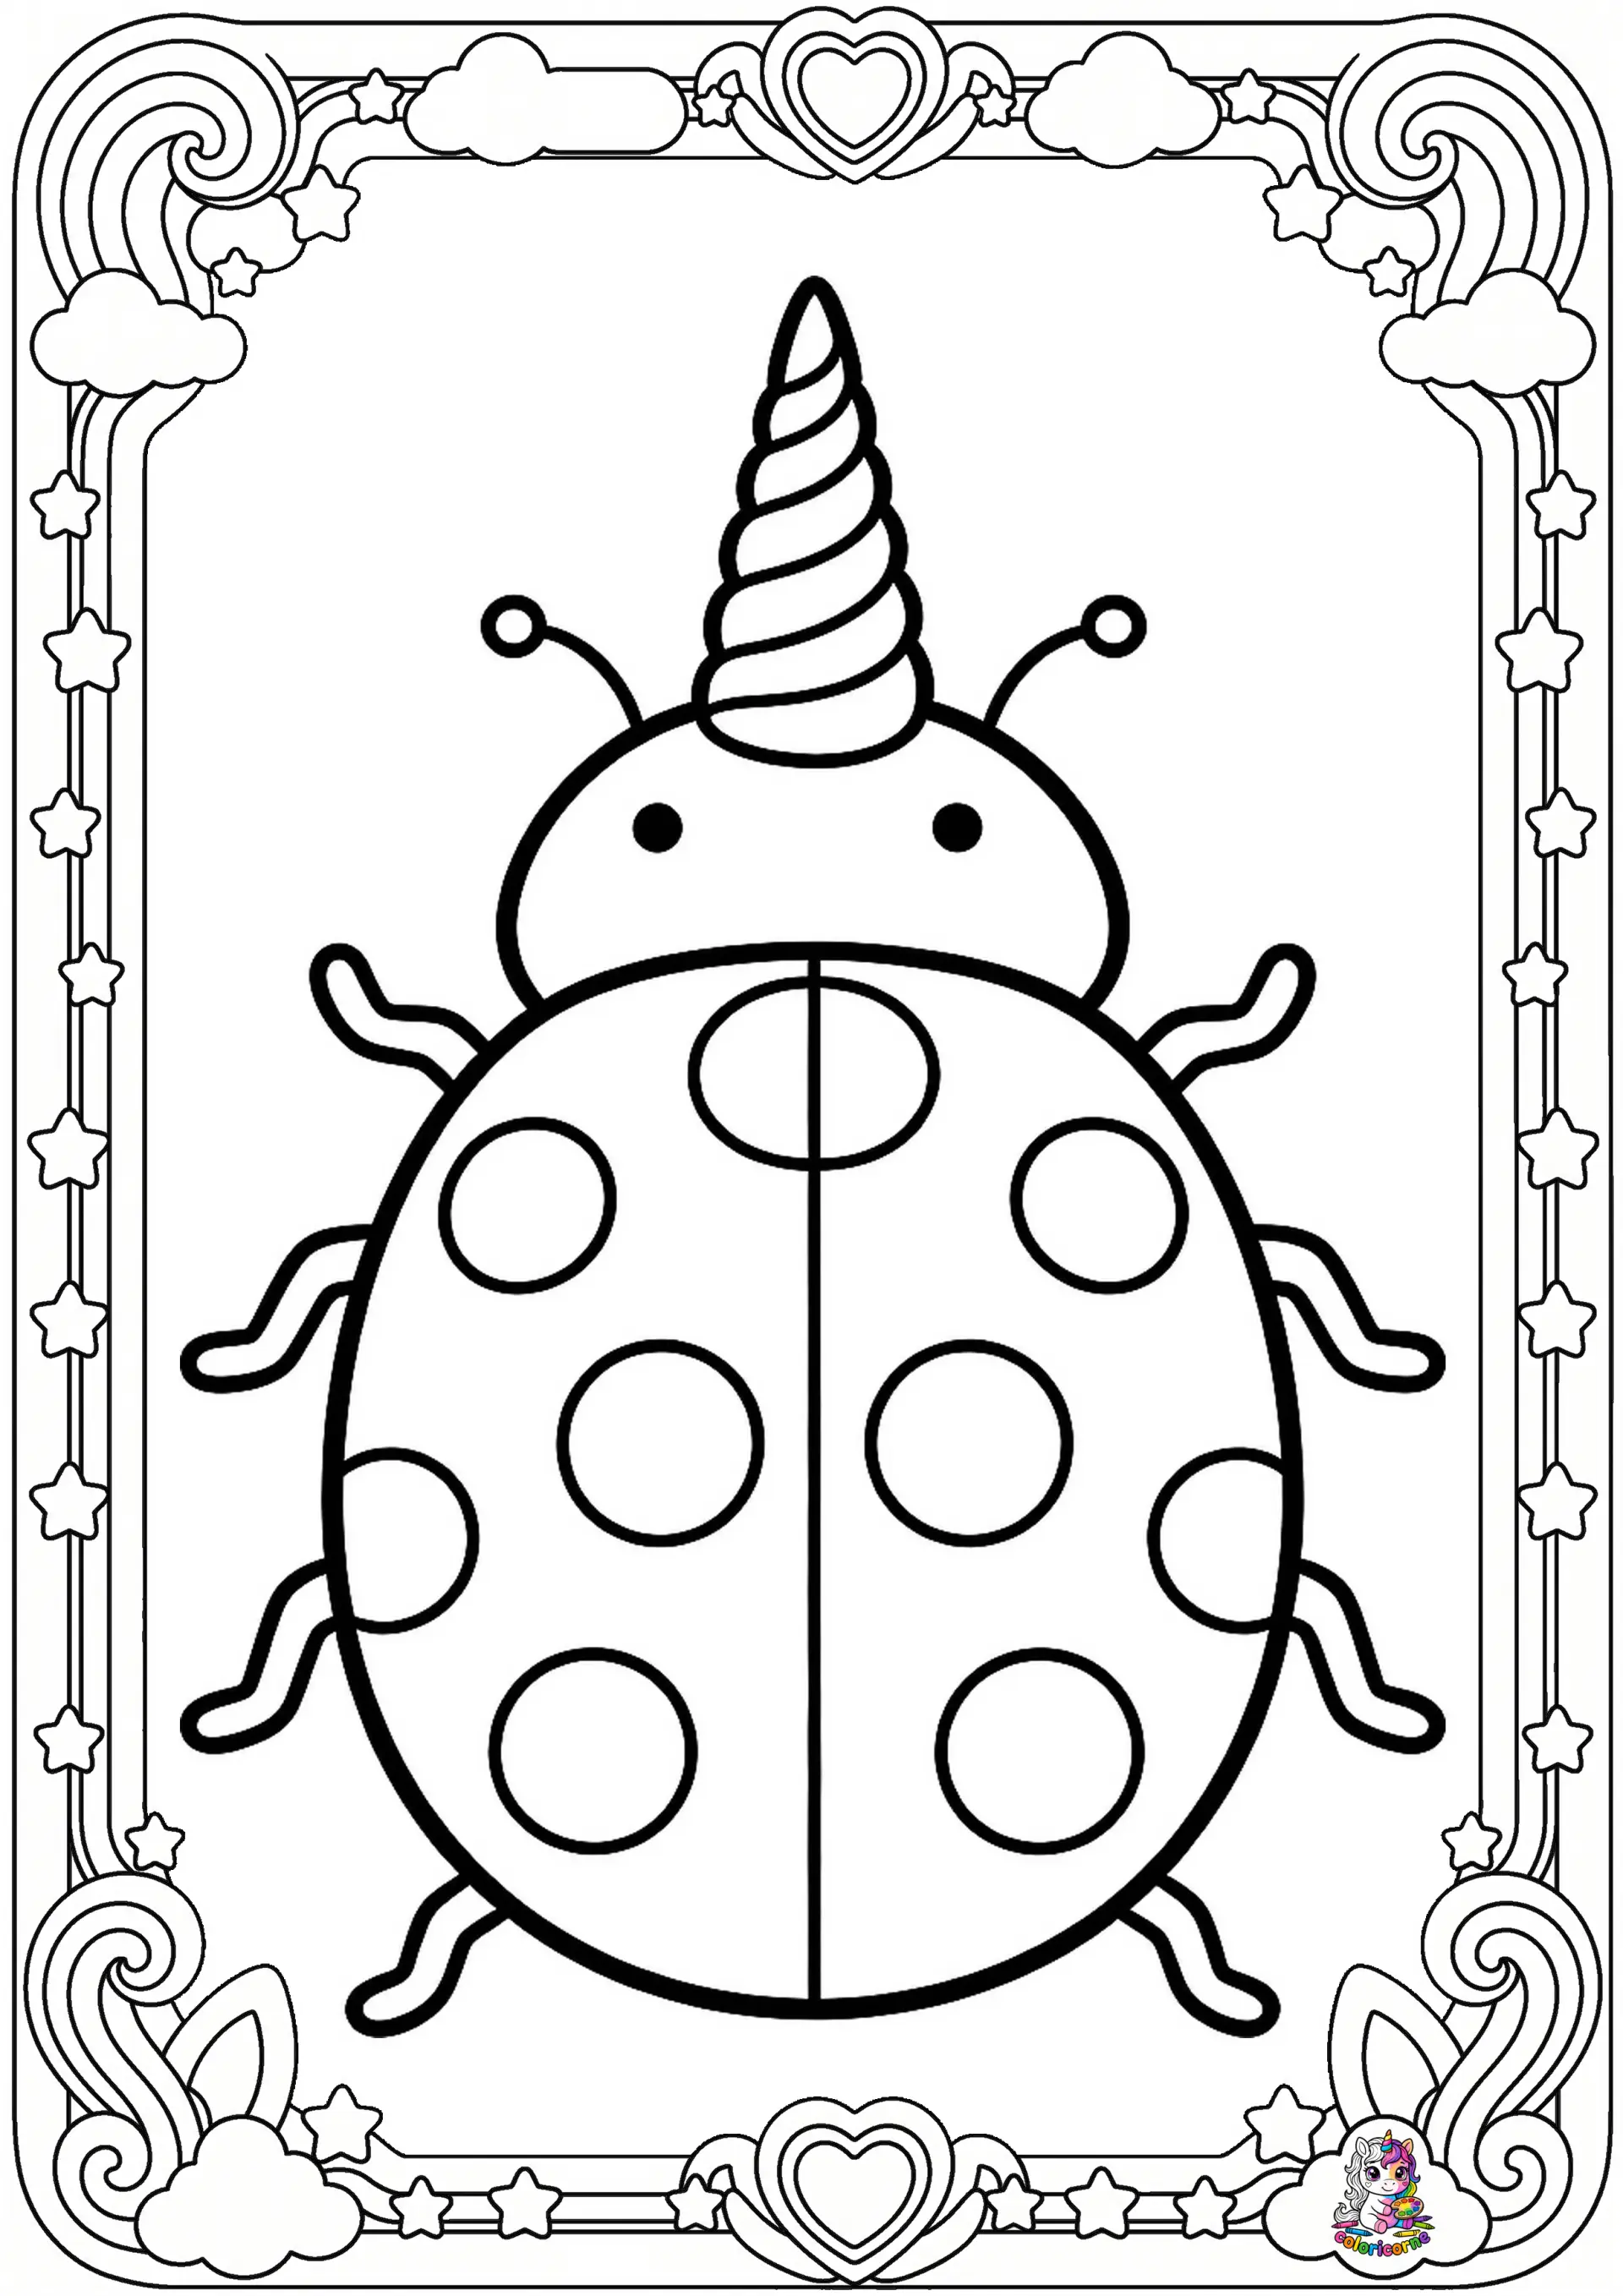
The sheet we suggest: The ladybug (Ages 4+) — One creature, big, in the middle of the page: the outline follows in a single run of the scissors, with no small detail to miss.
The hanging mobile
Ages 4+30 minutes
Supplies
- Two colored sheets
- Sewing thread, or thin string
- A wooden dowel, a straight branch or a coat hanger
- A hole punch and some tape
Steps
- Color two sheets, then cut five pieces in all: the characters, a flower, a cloud.
- Color the back of each piece too, or glue two cut-outs back to back. A mobile turns on itself, and a white back shows.
- Punch a hole at the top of each piece, then run a thread of a different length through each one.
- Tie the threads onto the dowel, spaced apart, and hang the whole thing above the bed or the table.
- Balance it by sliding the knots toward the middle or toward the ends, until the dowel stays level on its own.
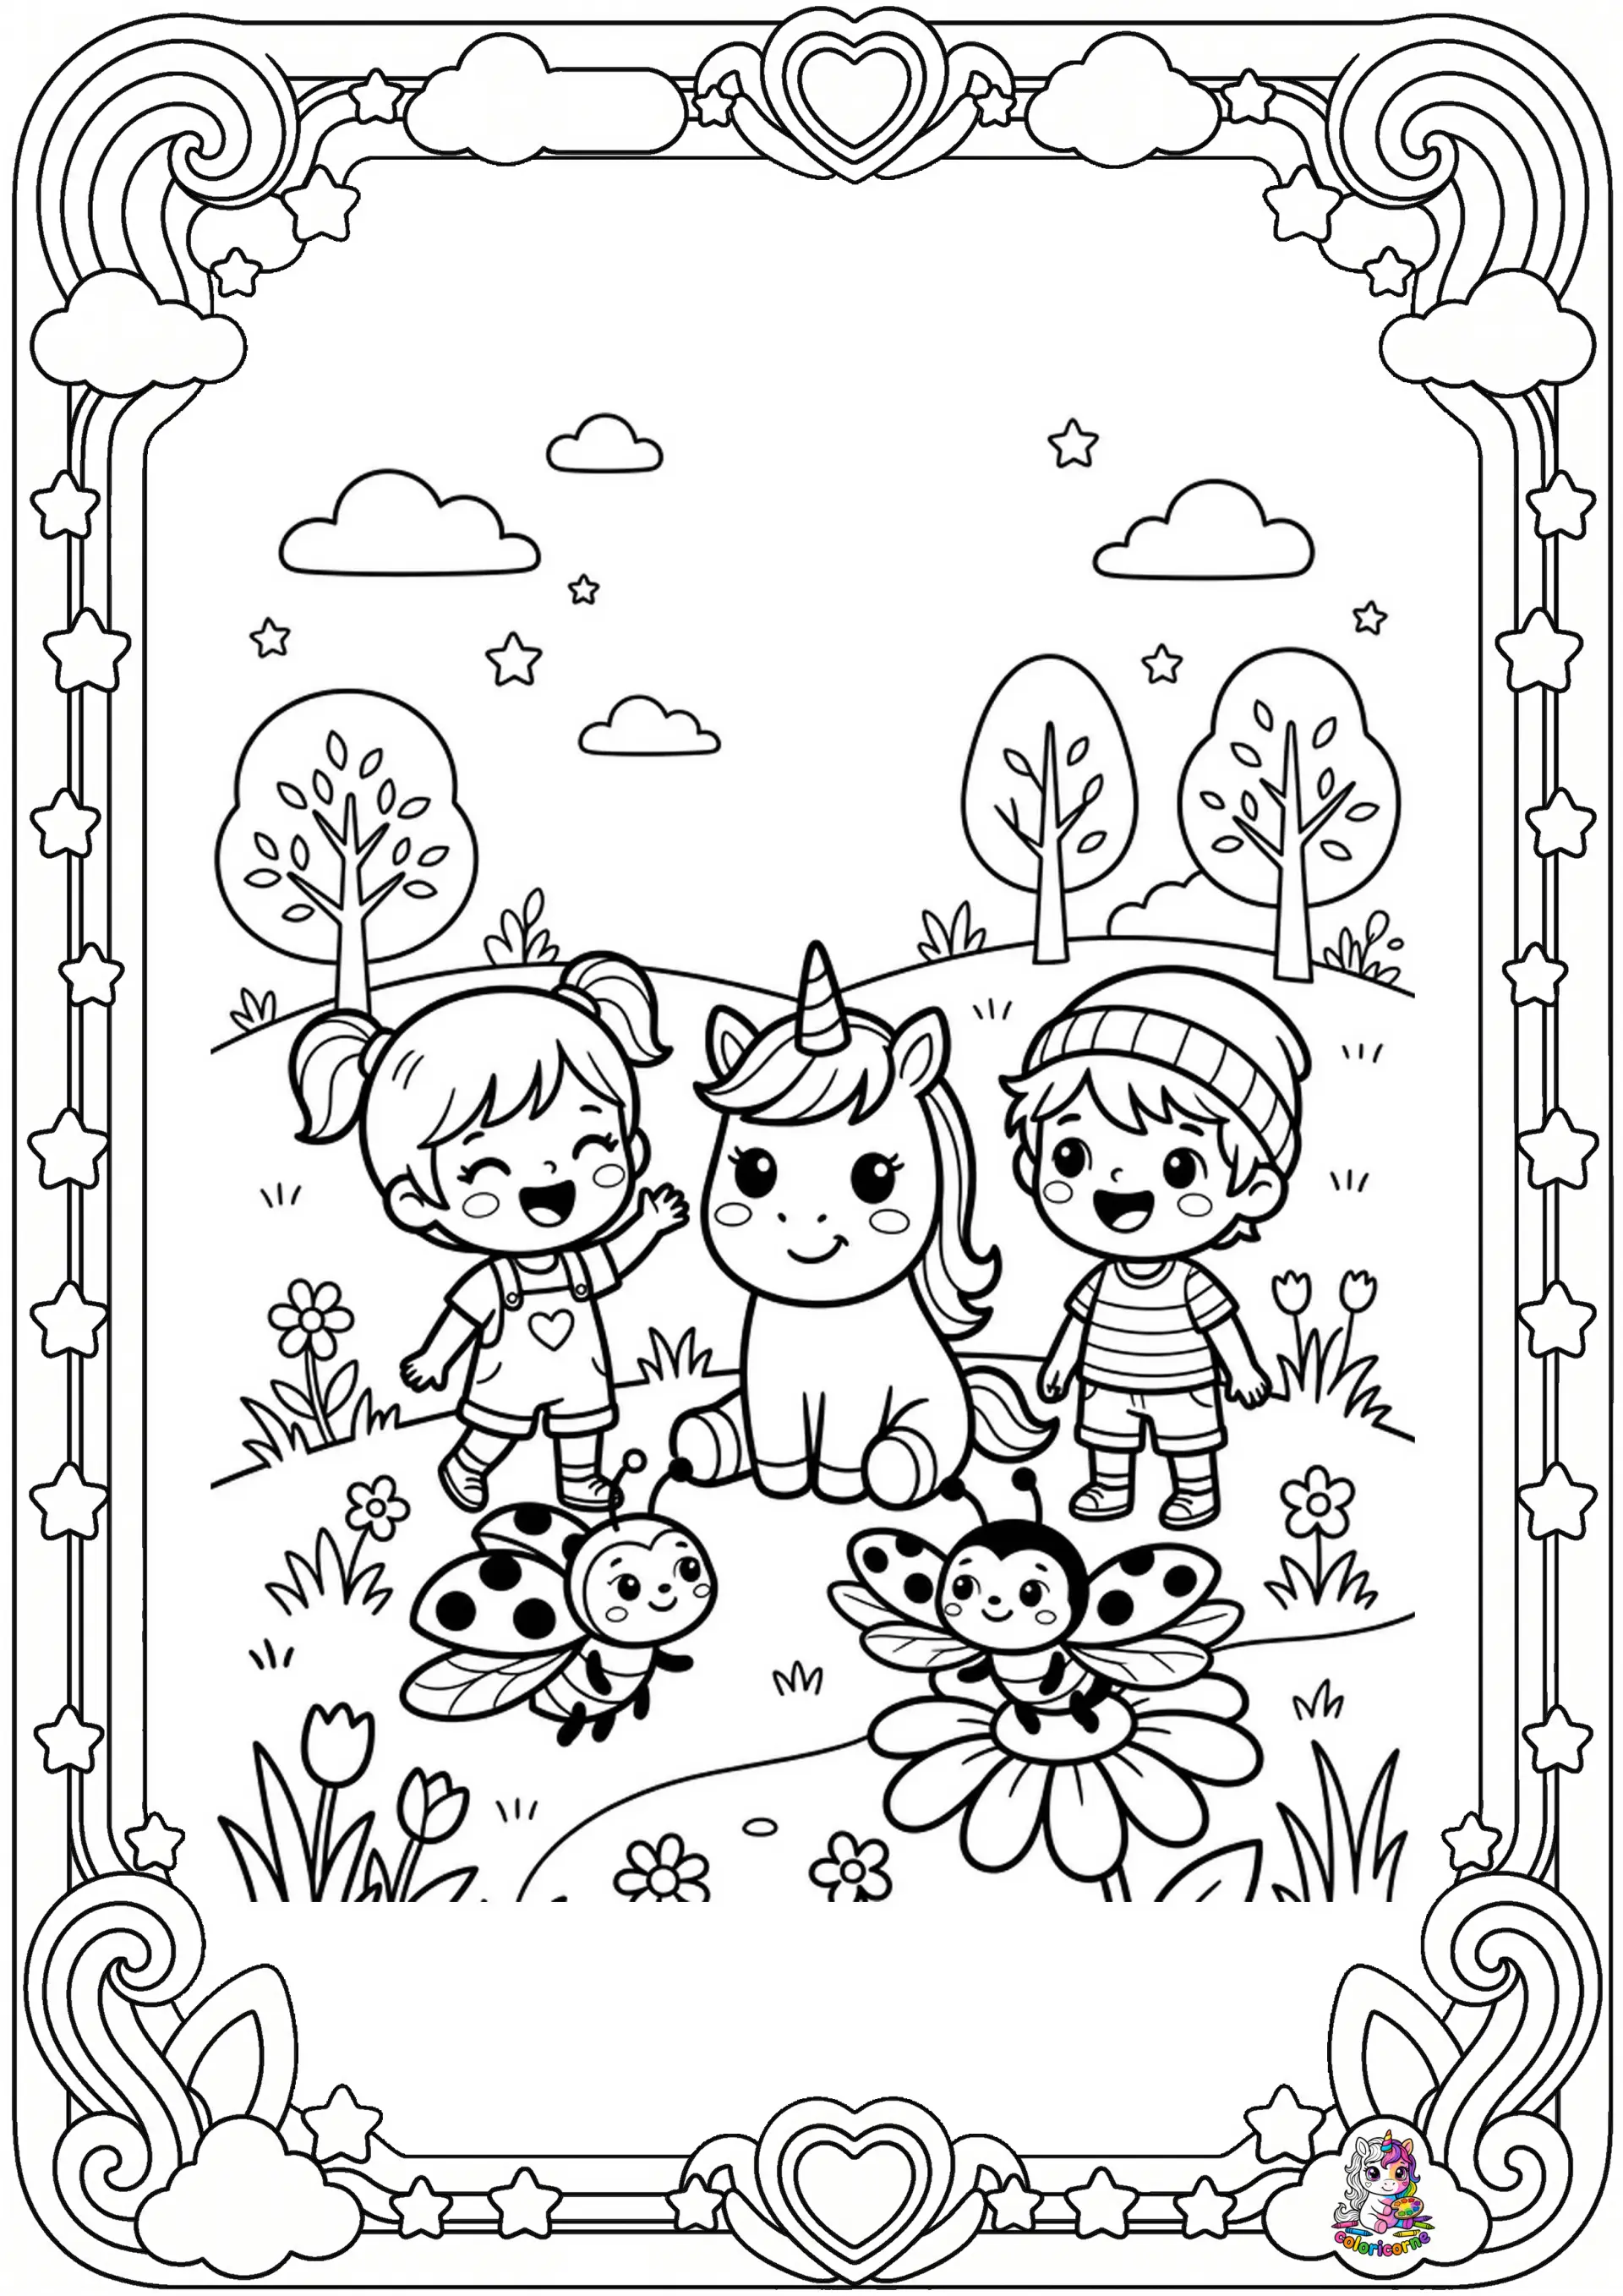
The sheet we suggest: The two ladybugs (Ages 4+) — Two insects with open wings, a big daisy, some grass: enough to cut five pieces without leaving an empty sheet.
The bunting garland
Ages 3+25 minutes
Supplies
- Three colored sheets
- Two meters of string
- Scissors and a glue stick
Steps
- Color three sheets, covering the backgrounds above all: from a distance, the background color is what you see.
- Cut each sheet into triangles the size of a hand.
- Fold the top of each triangle over one centimeter, lay the string in the fold, and glue the flap down over it.
- Space the flags a hand’s width apart, then stretch the garland across the hallway or a doorway.
A paper garland lasts several weeks, as long as it is not above a radiator.
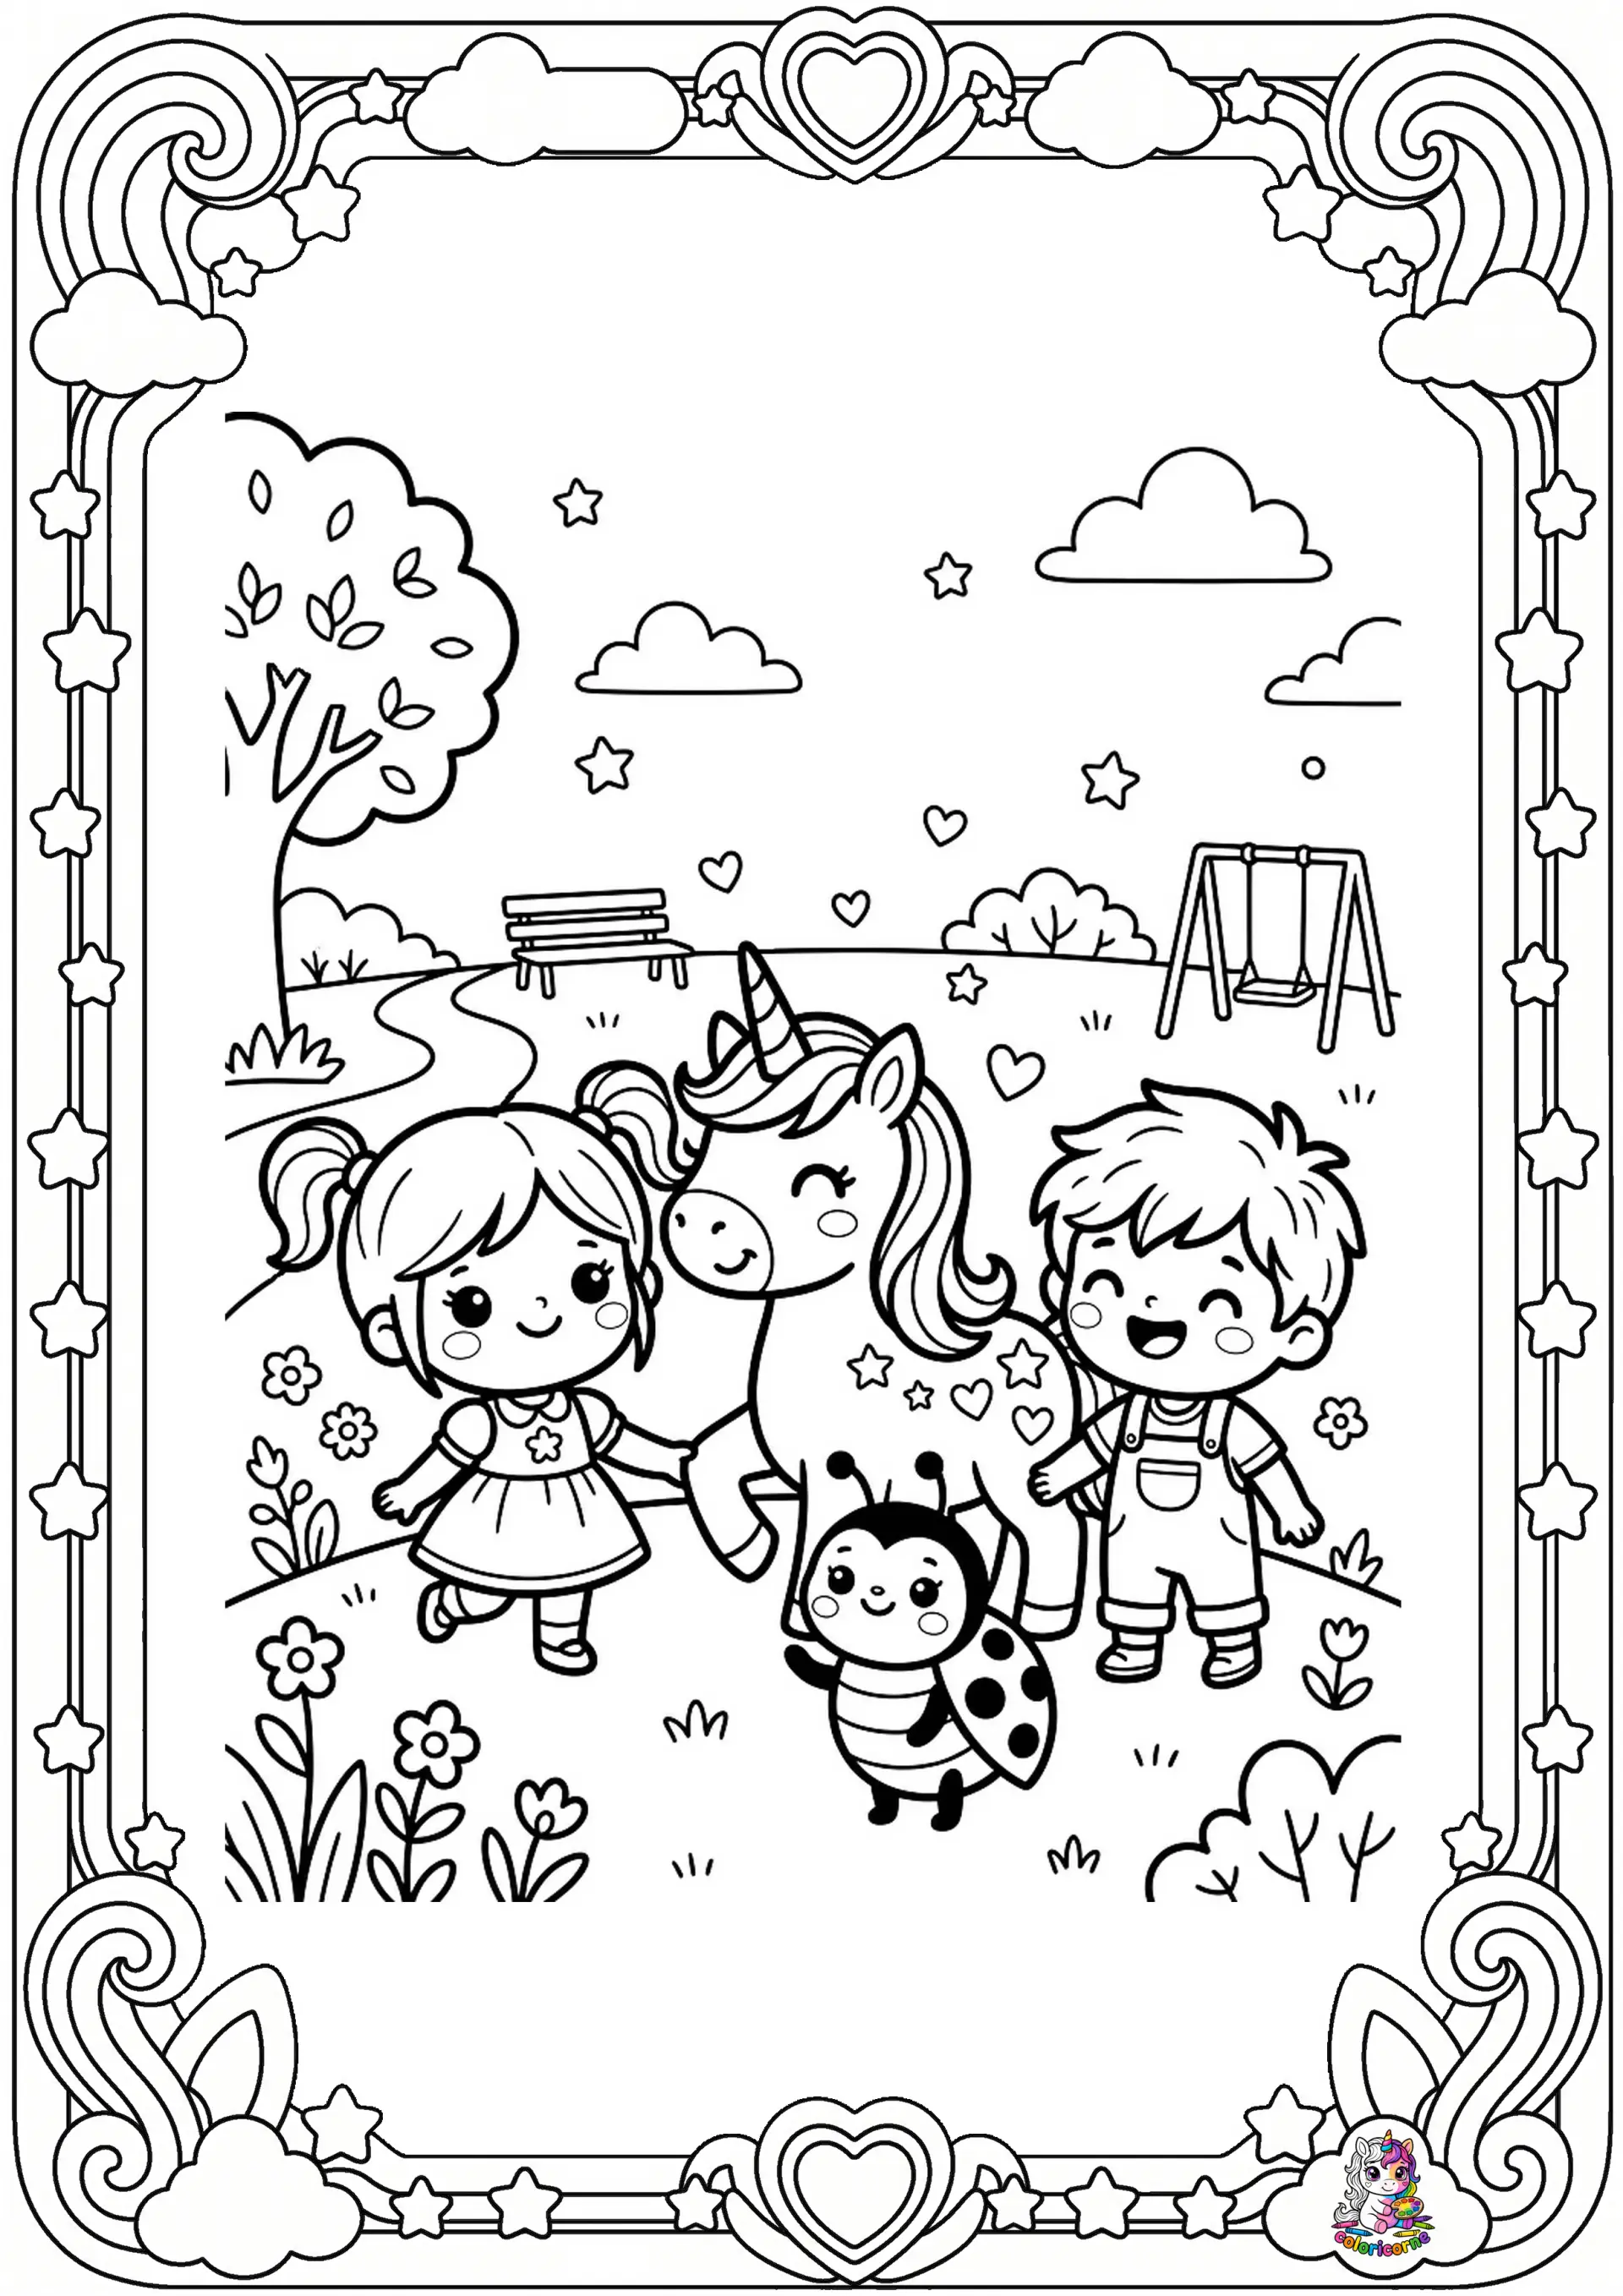
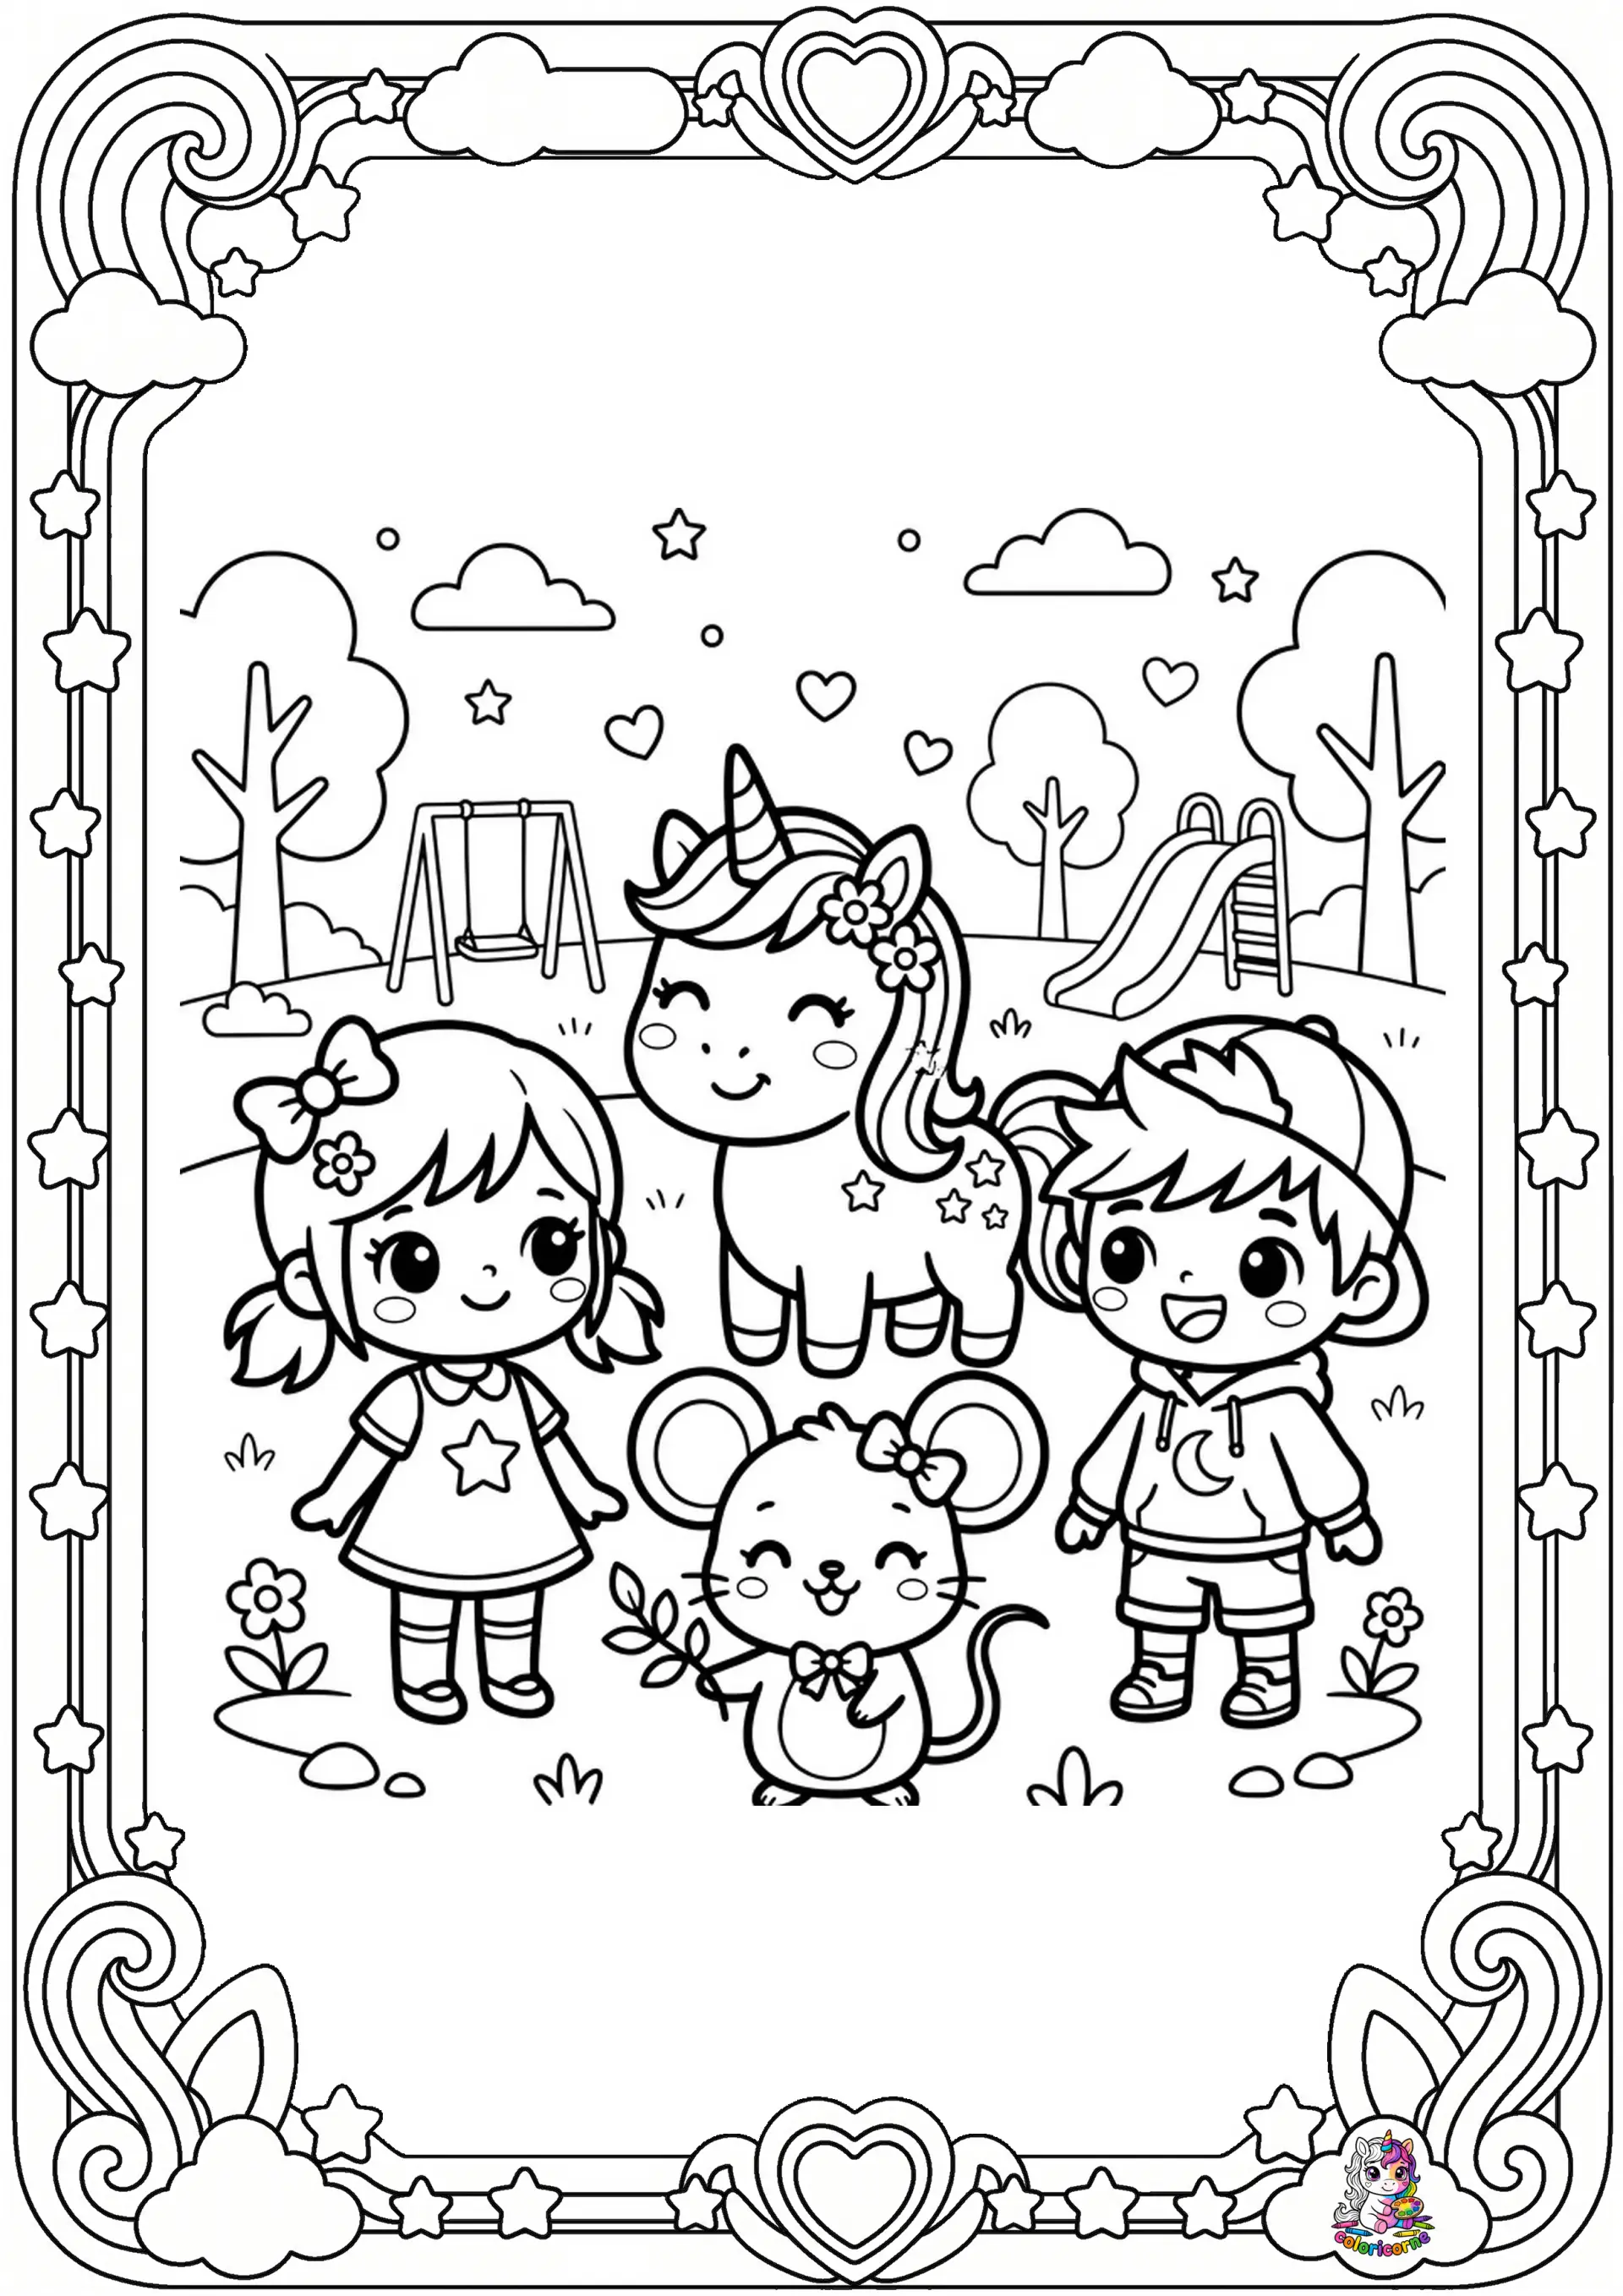
The sheet we suggest: At the park with the unicorn (Ages 4+) — A whole scene, from the sky down to the path: wherever you cut, the triangle still shows something.
The card to give
Ages 3+15 minutes
Supplies
- A colored sheet
- A sheet of A4 colored paper, slightly thick
- A glue stick
- A pencil and a marker
Steps
- Fold the colored paper in half widthwise: that is the card.
- Color the sheet, then cut out the main motif along its outline.
- Glue the motif on the front, a little above the middle — that is where the eye looks for it.
- Write the message in pencil, very small, inside, and let the child trace over it with a marker.
For a birthday or a grandparents’ day, get the cards ready a week ahead: a child makes three in a row, rarely six.
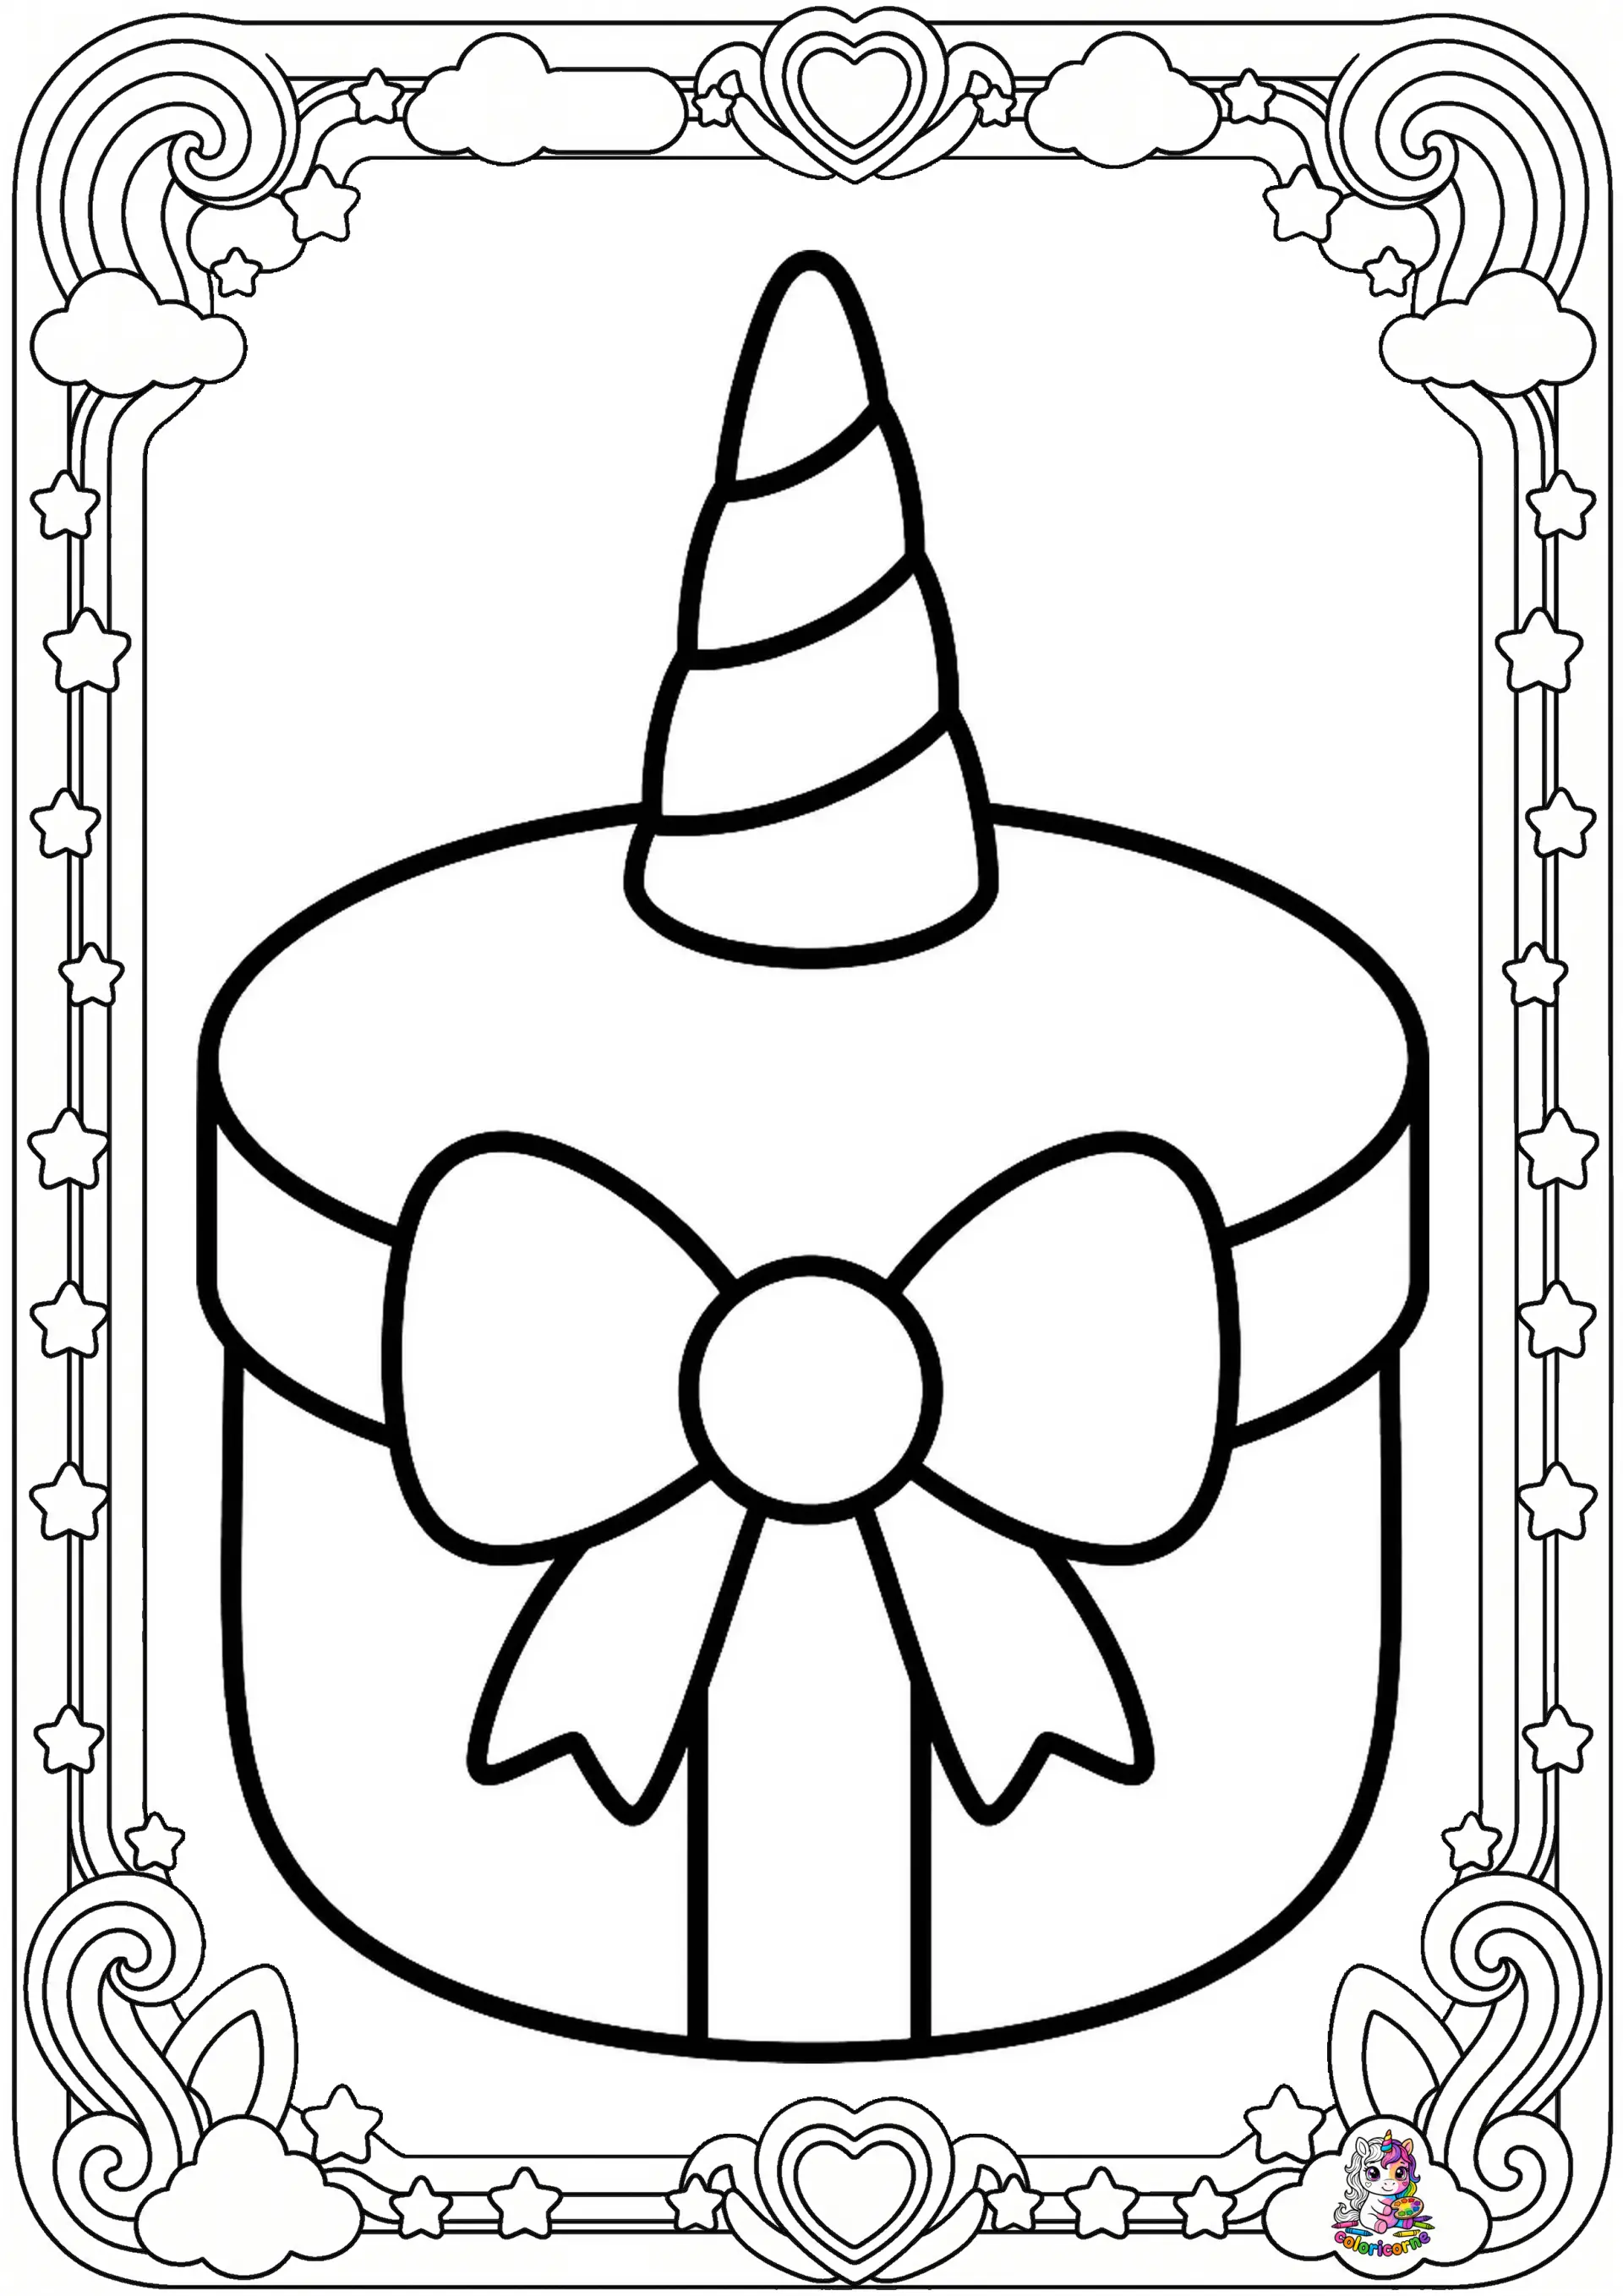
The sheet we suggest: The present (Ages 2+) — A big round box and a bow that takes the whole width: the motif cuts out in three snips and fills the front of a card.
The laminated place mat
Ages 2+20 minutes, plus cooling time
Supplies
- A sheet colored in A4
- Two A4 laminating pouches and a laminator — or wide tape
- Scissors
Steps
- Color the whole sheet, backgrounds included: a place mat gets looked at every day.
- Write the child’s first name in a corner, with a marker.
- Slide the sheet into the pouch and run it through the laminator. With no laminator, cover both sides with strips of wide tape overlapping by half a centimeter.
- Round the four corners with the scissors: a pointed corner is where the film starts to peel.
It wipes clean with a sponge and lasts a whole year. One mat per child, and the breakfast table gets set without an argument.
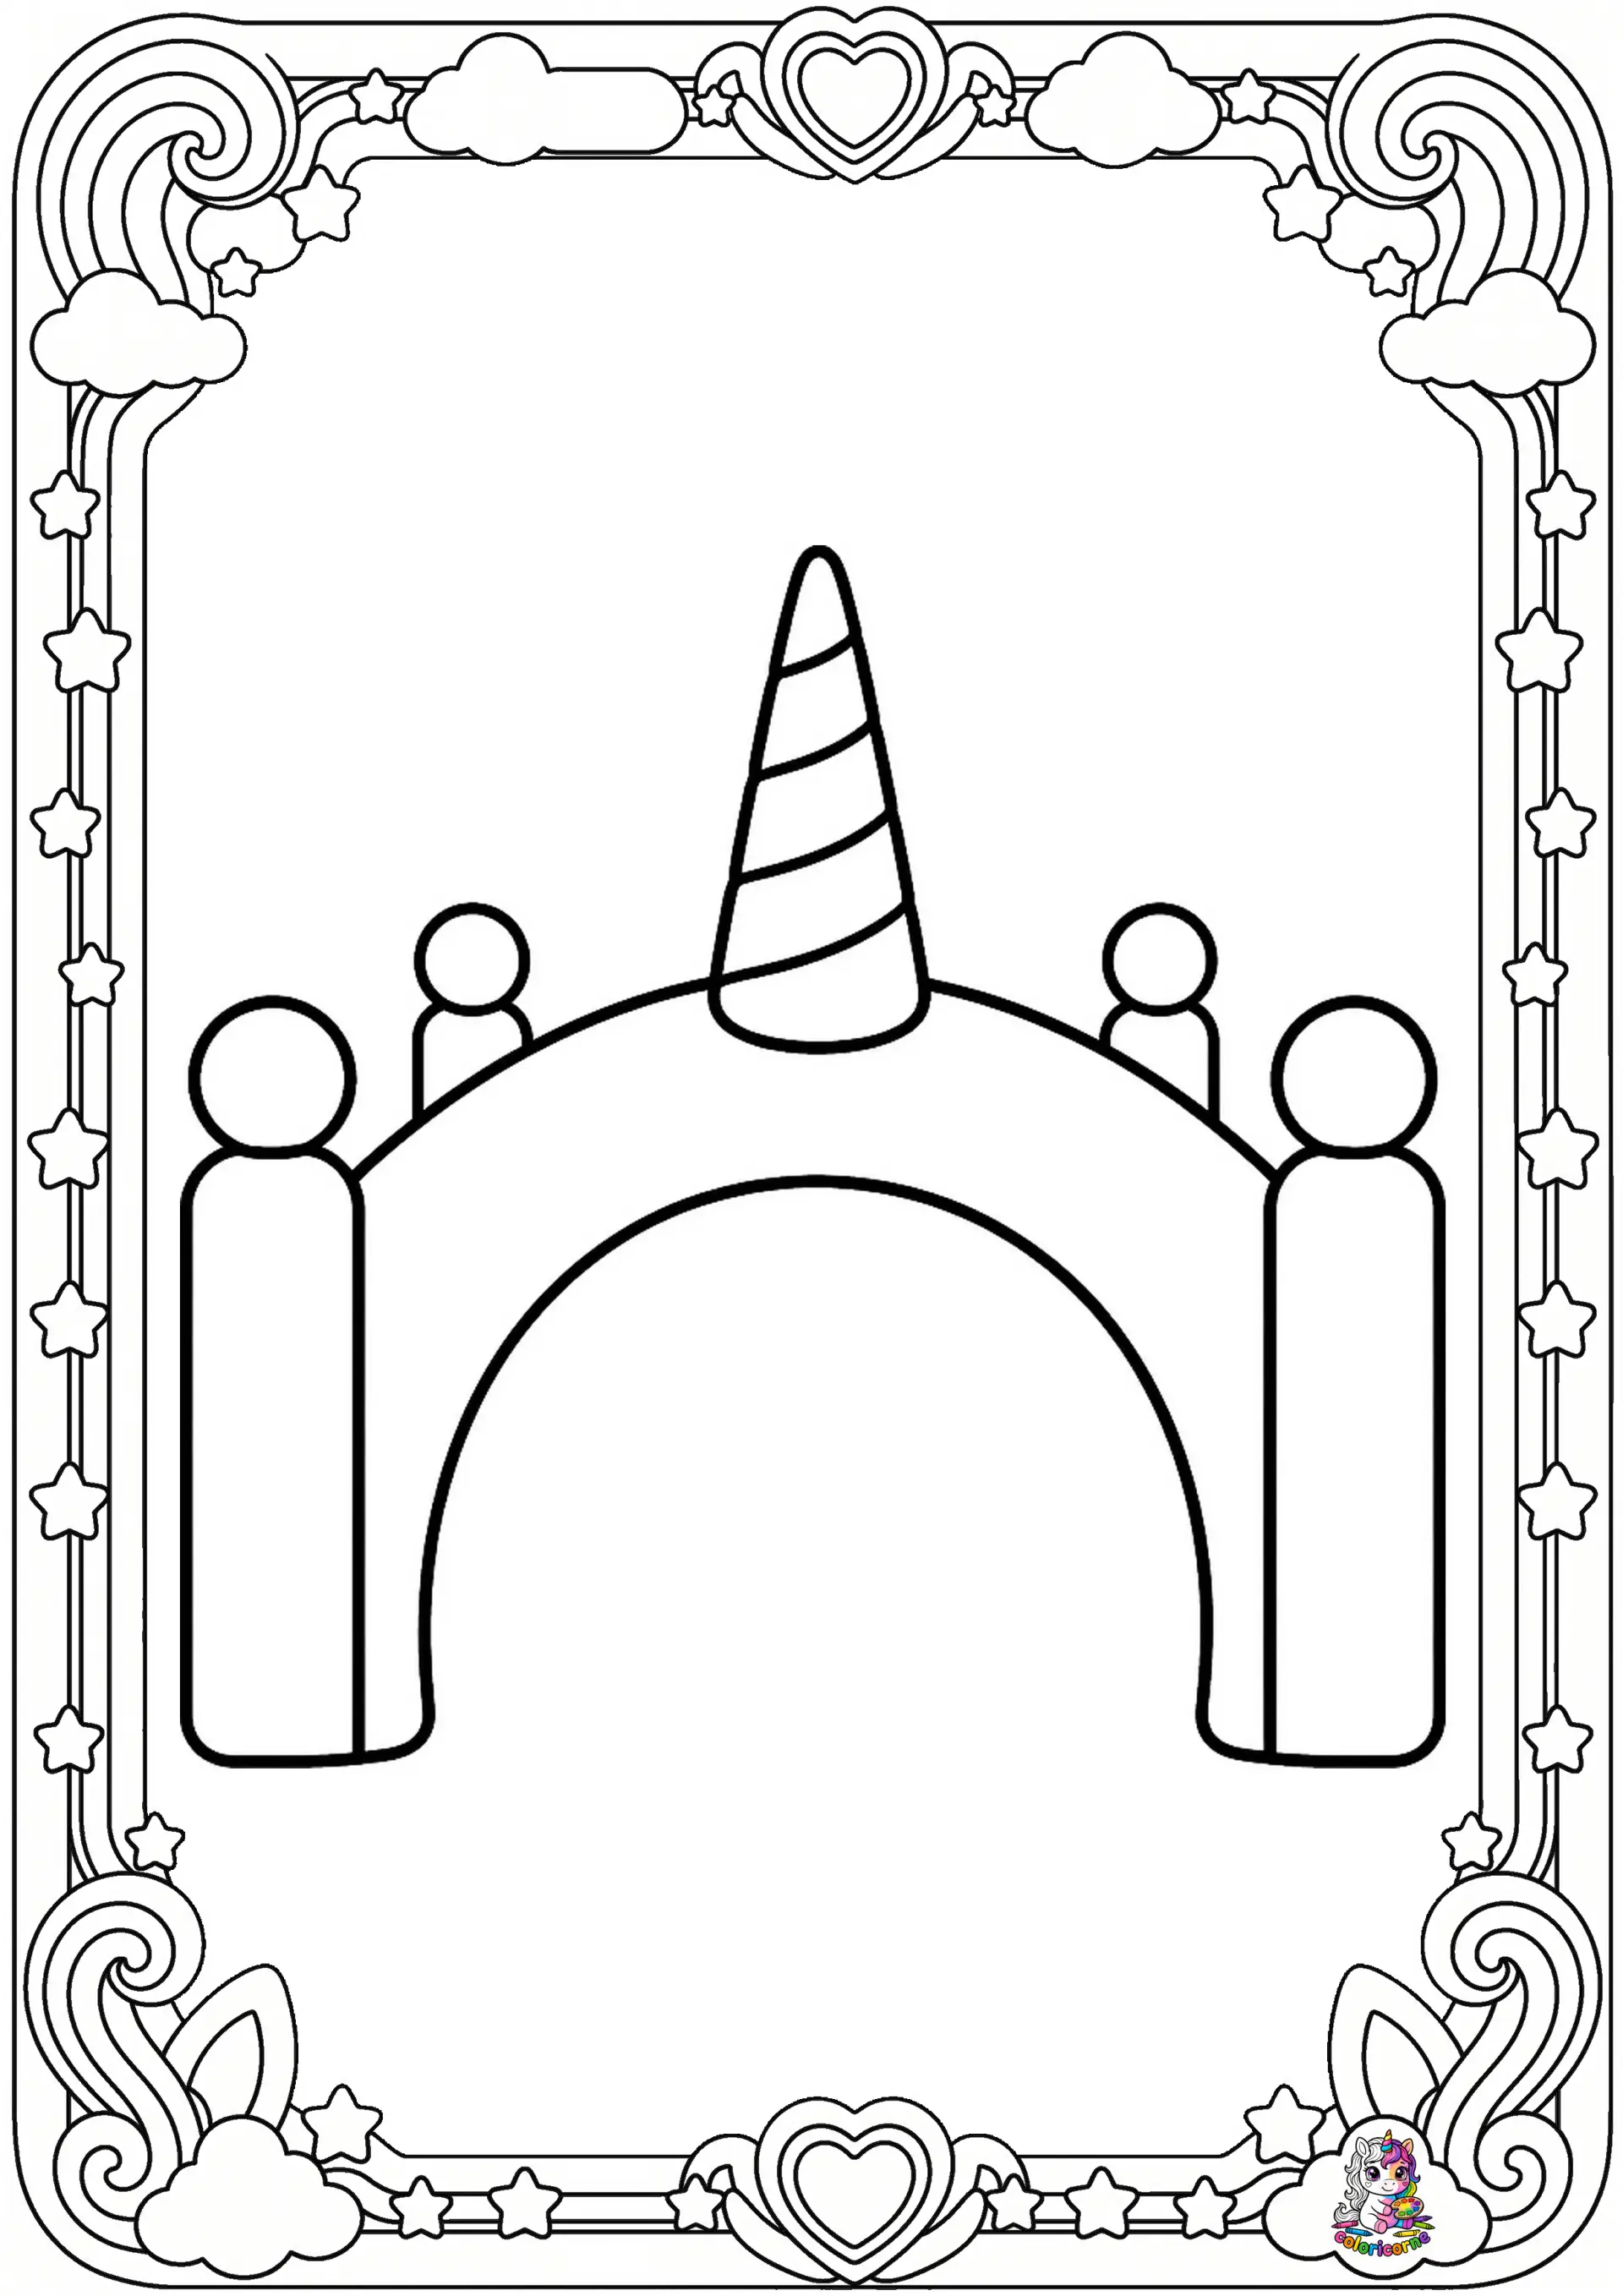
The sheet we suggest: The little bridge (Ages 2+) — A huge arch that climbs to the middle of the page and four round silhouettes: big areas that fill fast, and a drawing that stays readable under the film.
The cut-out memory game
Ages 4+40 minutes, often over two days
Supplies
- The same sheet printed twice
- Colored pencils
- The cardboard from a cereal box
- Scissors and glue
Steps
- Print the same sheet twice and color them the same way, two of you, one sheet each, copying one another. That is the long part, and it is already a game.
- Fold each sheet in half down the height, then in three across the width: six identical boxes on both sheets. Cut along the folds.
- Glue each square onto a piece of cardboard the same size. Without cardboard, the drawing shows through and the game stops working.
- Shuffle the twelve cards face down, then play: turn two over, keep the pair when both pieces are the same.
Twelve cards are enough at 4. At 6, start again with a second sheet: twenty-four cards, and a game that lasts.
The sheet we suggest: The park under the stars (Ages 6+) — A scene full of different things — the swing, the slide, the characters, the stars: each square you cut shows something other than its neighbor.
Common questions
Should you color before cutting out?
Always. On a piece that is already cut out, the marker runs onto the table and the edges curl. A whole sheet lies flat under the hand; a small shape does not.
Which paper should I choose for a craft?
120 gsm as soon as you have to cut, fold or hang. Plain paper is fine for the card and the garland, but a mobile made of thin paper curls into itself.
At what age does a child cut on their own?
Around 4 for a straight line, around 5 for a curved outline. Before that, the adult cuts and the child glues: gluing is the part that interests them.
The sheets to print
The ones the crafts above start from. Each comes out on A4, ready to color.
Going further
- The whole catalogAll the sheets, filtered by theme, by age and by season.
- Tips for parentsPaper, markers, light, and where to set up a coloring corner.
- Coloring pages by themeUnicorns, animals, little bugs, journeys, parties, school.
- Coloring pages by ageWhat a sheet asks of a child at 2, at 4, at 6.
- A birthday partyHolding a table of six children with coloring pages.
- Schools and daycareGroup use, and a five-session sequence.